The 5 Biggest Causes of Faucet Failure & How to Fix Them
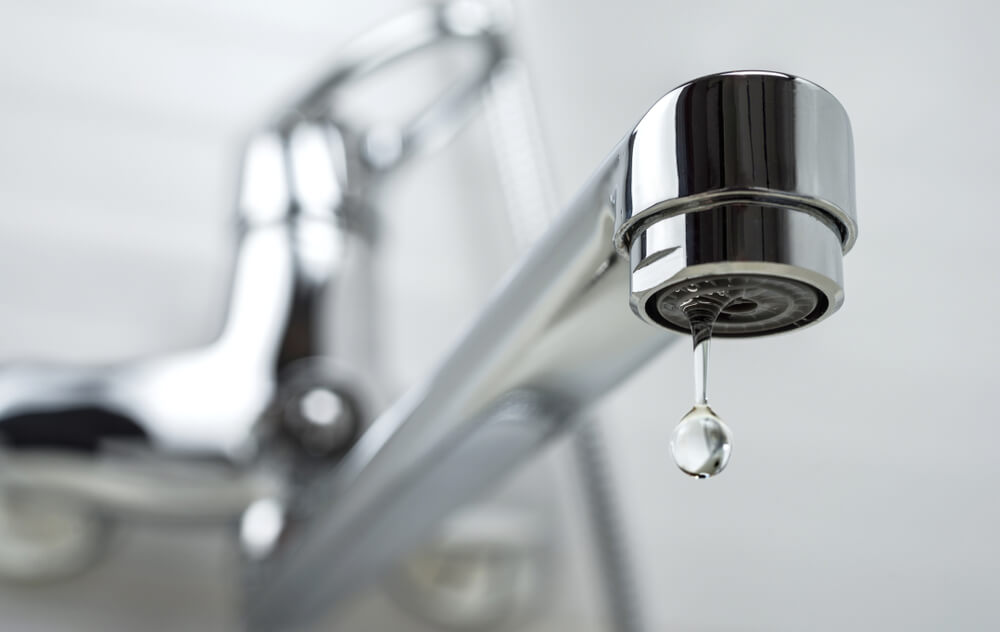
One of the most common plumbing repair problems we encounter is faucet leaks. Compared to other plumbing fixtures, faucets are subject to heavier use. Consider how often you use a faucet compared to how often you use a toilet or shower.
Did you know that if your dripping faucet releases ten drips per minute, you’ll be losing over 300 gallons of water per year? Don’t let a leaky faucet make your water bill any larger than it needs to be.
Faucets contain more parts than you might think, and these parts can wear out over time.
The 5 Most Likely Culprits of a Leaky Faucet
The five most likely parts to fail in a kitchen or bathroom sink are:
1. Rubber Washers
Also known as a seal or gasket, rubber washers block water from coming through sections of the faucet. Over time, these rubber washers wear out, which can cause leaks around the base of the faucet or under the knobs or handle.
2. Pipe Connections
There are several different connections in your sink. There is a dedicated water line for both your cold and hot water, and a pipe to drain the water after use. These connections can corrode or loosen over time, which creates leaks. Kitchen faucets are especially vulnerable to loosening due to the vibrations from the garbage disposal.
The pipes also have a tendency to take damage from being knocked around while things are shoved in and out of the cabinet where they are stored.
3. O-Rings
O-rings hold the faucet handle in place, so it is another common part that can cause leaks near the base of the handle.
4. Dirty Aerator
The aerator is on the tip of your faucet where the water comes out and looks like a metal mesh. Mineral deposits can crush over the aerator, causing problems with your faucet.
5. Broken Cartridge
The cartridge is the inner workings of the faucet handle. In older faucets, they were designed to have repairable parts, though repair was more complicated. More modern faucets treat the cartridge as a disposable piece that can be wholly and easily replaced.
How to Fix a Leaky Faucet
Ready to get rid of that annoying dripping sound? The good news is that a determined DIYer can figure out faucet repairs.
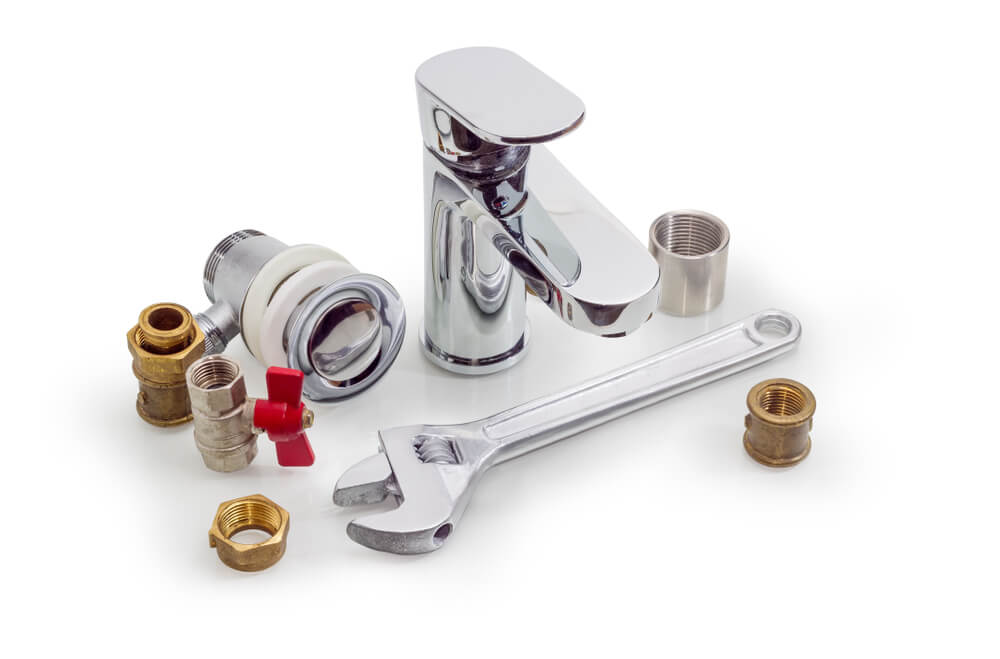
Step 1: Gather the Tools
To repair a leaky faucet, you’ll need to gather up the tools you’ll need. You will likely need a flat-head screwdriver, pliers with rubberized handles, replacement washers and O-rings, an adjustable wrench, and a penetrating oil like WD-40.
Step 2: Shut Off the Water
Before you start dismantling the faucet, it’s imperative that you turn off the water. We’ve all seen the comedies of water spraying everywhere as the hapless character tries to fix the sink. Don’t let that become a reality. Turning off the water to the faucet is very simple: find the shut-off valve that connects the cold and hot water lines to the faucet inside the cabinet.
Turn the knobs all the way clockwise, or, if it’s a lever, turn it perpendicular to the water line.
Step 3: Clean the Aerator
Whether the aerator is the problem or not, it can usually use a quick cleaning. A dirty aerator could be the culprit behind the leaking faucet. Examine the aerator for any particles on it.
There are two main types of aerators: a screw-on aerator and a cache aerator. The screw-on aerator can be removed simply by turning the very end of the faucet. We recommend using pliers with a rubberized grip. Instead of putting the aerator in the metal plier jaws (which would tear up the piece), turn the pliers around and place the aerator between the rubberized handles. Press the handles together with medium force and turn it counterclockwise to unscrew it.
A cache aerator is hidden within the faucet and doesn’t have an obvious body to unscrew. It can be removed using a cache key, an inexpensive tool you can get at the hardware store. The cache key has grooved teeth, which, when placed into the aerator, will turn counterclockwise to unscrew.
Once the aerator is removed, simply soak it in white distilled vinegar for a couple of hours, then clean it with an old toothbrush. It can then be put back in place.
If your aerator is damaged, replace it with a new one.
Step 4: Replacing Worn or Broken Parts
The three most common parts you’ll need to replace on a faucet are the washer/seal, the O-ring, or the cartridge.
Replacing the Washer/Seal on a Faucet
When you turn the faucet handle, a washer, or seal, falls in place to hit against the faucet set and completely seal off the flow of water. That washer has to stand up to the pressurized water in the water line.
If the washer moves or gives at all, it can result in drips or leaks. Sometimes, taking apart the faucet and repositioning the washer will be enough to reset the washer and fix the leak. Other times, you’ll need to replace the washer and the seat altogether.
Disassemble the faucet head according to the manufacturer’s instructions and look at the washer to ensure that it fits perfectly back into its original position. If the washer is warped, take it to your local plumbing company or hardware store and find a replacement. Only a perfect match will work.
If you cannot find the perfect match, you will need to contact the manufacturer of the faucet to obtain a replacement piece. Some manufacturers guarantee their faucets for decades or even a lifetime and will mail you replacements for an inexpensive cost.
Ensure that your chosen replacement piece can handle both hot and cold water, or it will warp again and will not last long.
Replacing the O-Ring on a Faucet
O-rings are used in most faucets. They are small rubber rings that create a waterproof seal. When these rings become damaged or loose, the seal is broken, and water seeps through.
If you have a leaking handle, try replacing just the O-ring and see if that fixes the issue. The O-ring needs to be the right size and thickness, or it will not work properly.
Replacing the Faucet Cartridge
Cartridge-style faucets can use one or two handles. The way to tell if a faucet uses a cartridge is that the handle feels smoother and easier to turn than a compression or ball faucet.
When a cartridge faucet is dripping, it’s usually necessary to replace the entire cartridge valve. New cartridges run around $10 to $15 and are relatively easy to install.
Make sure to note your removal process. Remove items and lay them out in order. Some record their removal process to ensure they can reassemble correctly.
Replace the washer and O-ring first to see if that is the problem. If not, replace the cartridge as well. Some standard cartridges are sold at hardware stores, or they can be obtained from the original manufacturer.
Step 5: Replace Your Faucet
If your faucet still leaks after trying the repairs listed above, it’s time to replace your entire faucet. Cracks, age, corrosion, and more can cause your faucet to be permanently damaged and leaky.
Buy a new one and follow the provided instructions to install it.
If you are at a loss or don’t have the time to figure out how to repair your faucet, there’s no shame in calling a professional. Dauenhauer provides expert plumbing faucet repair services in Lexington & Louisville, Kentucky. Schedule an appointment with us today!